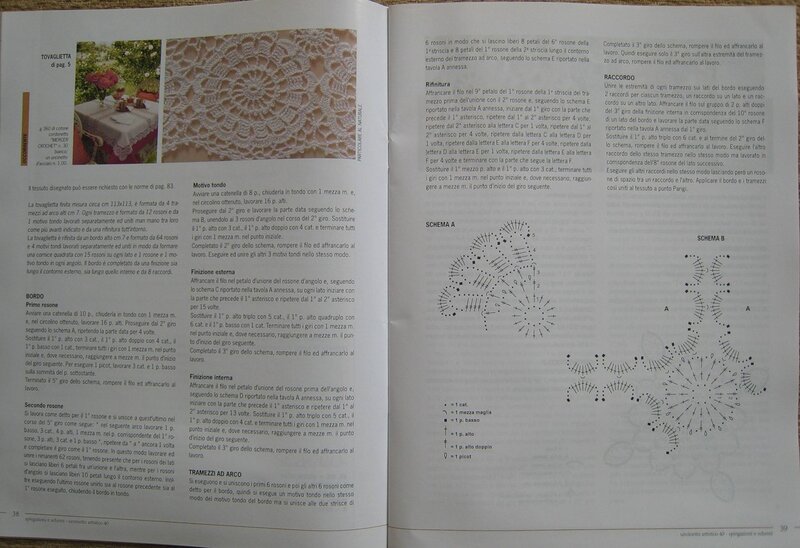


You will need: 150g of yarn LanaGatto Minicaraibi (100% cotton) 50g - 155m, spokes №2.5; silk ribbon - 1 meter knitting density of 28 loops x 32 rows = 10x10 cm, connected openwork pattern. Garter Stitch: knit facial loops in the right and wrong ranks. Openwork pattern: knit by the scheme, which lists all circular rows. Job Description: Dress fit from the bottom up in a circle. On circular needles dial 392 №2.5 loop, close the knitting in a circle, to make sure that knitting is not twisted. Knit 3 rows in garter stitch (knitting circle - 1 number PHI, a number of persons 1, number 1 PHI...), Then go to your knitting openwork pattern. I was knitting at the beginning of knitting 4 backstitches loop between the delicate tracks. At a height of 4.5 cm cut in each of the second track of the number of loops backstitches PHI. from 4 to 3, provyazyvaya 1 PHI., PHI 2. together 1 PHI. Continue knitting on the scheme, bearing in mind that in every second track is not 4, and 3 PHI. loop. At a height of 9 cm from the start knitting to reduce the number PHI. from 4 to 3 in the left lanes. Continue knitting scheme. At a height of 15 cm in each of the second track knit 3 persons. together, thus in between delicate tracks 7 PHI. loops. At a height of 17cm reduce backstitches track loops to 6, in the following order - to 5 PHI. n. At a height of 19cm cut to reduce the number PHI. loops in each second track 4 until, at a height of 21cm reduce PHI. up to 4 loops in the remaining lanes PHI. loops. Similarly, to reduce the number of loops to 3 at a height of 22 and 23cm, then to 2 at a height of 26 and 27cm. At a height of 34 and 36cm reduce the number of loops in the tracks backstitches 1 loop. Then knit openwork track 1 PHI. n. to a height of between 45cm skirt. Knit 7 rows in garter stitch (knitting circle - 1 number PHI, 1 row. Persons 1 number PHI, 1 number of persons 1, number PHI, 1 number of persons 1, number of PHI......) In the last series split knitting two parts (back, front) and then separately knit. Before: in the last row in garter stitch to close on both sides on 3 loops, hereinafter continue knitting in the following order:. 5 § garter st, 2 .. N the underside surface of 1 openwork track (3 loops), 2 sts purl waste, 26 p . the front surface of 2 p. seamy coats, openwork track (3 loops), 2 p. PHI. coats, 5 p. garter stitch. Further, in each of 2m. row subtract from both sides 1 p. 2 times, provyazyvaya 2 persons. n. together immediately after / before the edge loop. Next knit: 3 sts garter st, 2. N the underside surface of 1 openwork track (3 loops), 2 sts purl waste,.. 26 n the front surface of, 2 n seamy smooth surface, delicate path (3 loops), 2.. N . PHI. smooth surface, 3 p. garter stitch to a height of 10 cm from the beginning of the formation of the armhole. To form the neckline close 6 secondary loops, each further series of 2m on both sides from the recess of the neck close 1x4, 2x2, 2x1. Next knit according to the established pattern in the remaining loops up to a height 18sm from the beginning of the formation of the armhole. Close remaining sts. Back: knit as well as before, but with less deep neckline. At a height of 12 cm from the beginning of the formation of the armhole to close 16 secondary loops, then each row of 2m on both sides with side cut-throat closed 6x1. Next knit according to the established pattern in the remaining loops up to a height 18sm from the beginning of the formation of the armhole. Close remaining sts. Assembly: perform seams plechevyk. By neckline neck type loops and tie 2 rows of garter stitch (1ryad PHI. Loops 1 a number of persons.), Close all the loops. |
